


Developer Guide
Bitget Wallet provides convenient and powerful payment capabilities. This chapter describes how to integrate and invoke Bitget Wallet Pay from integration to successful payment.
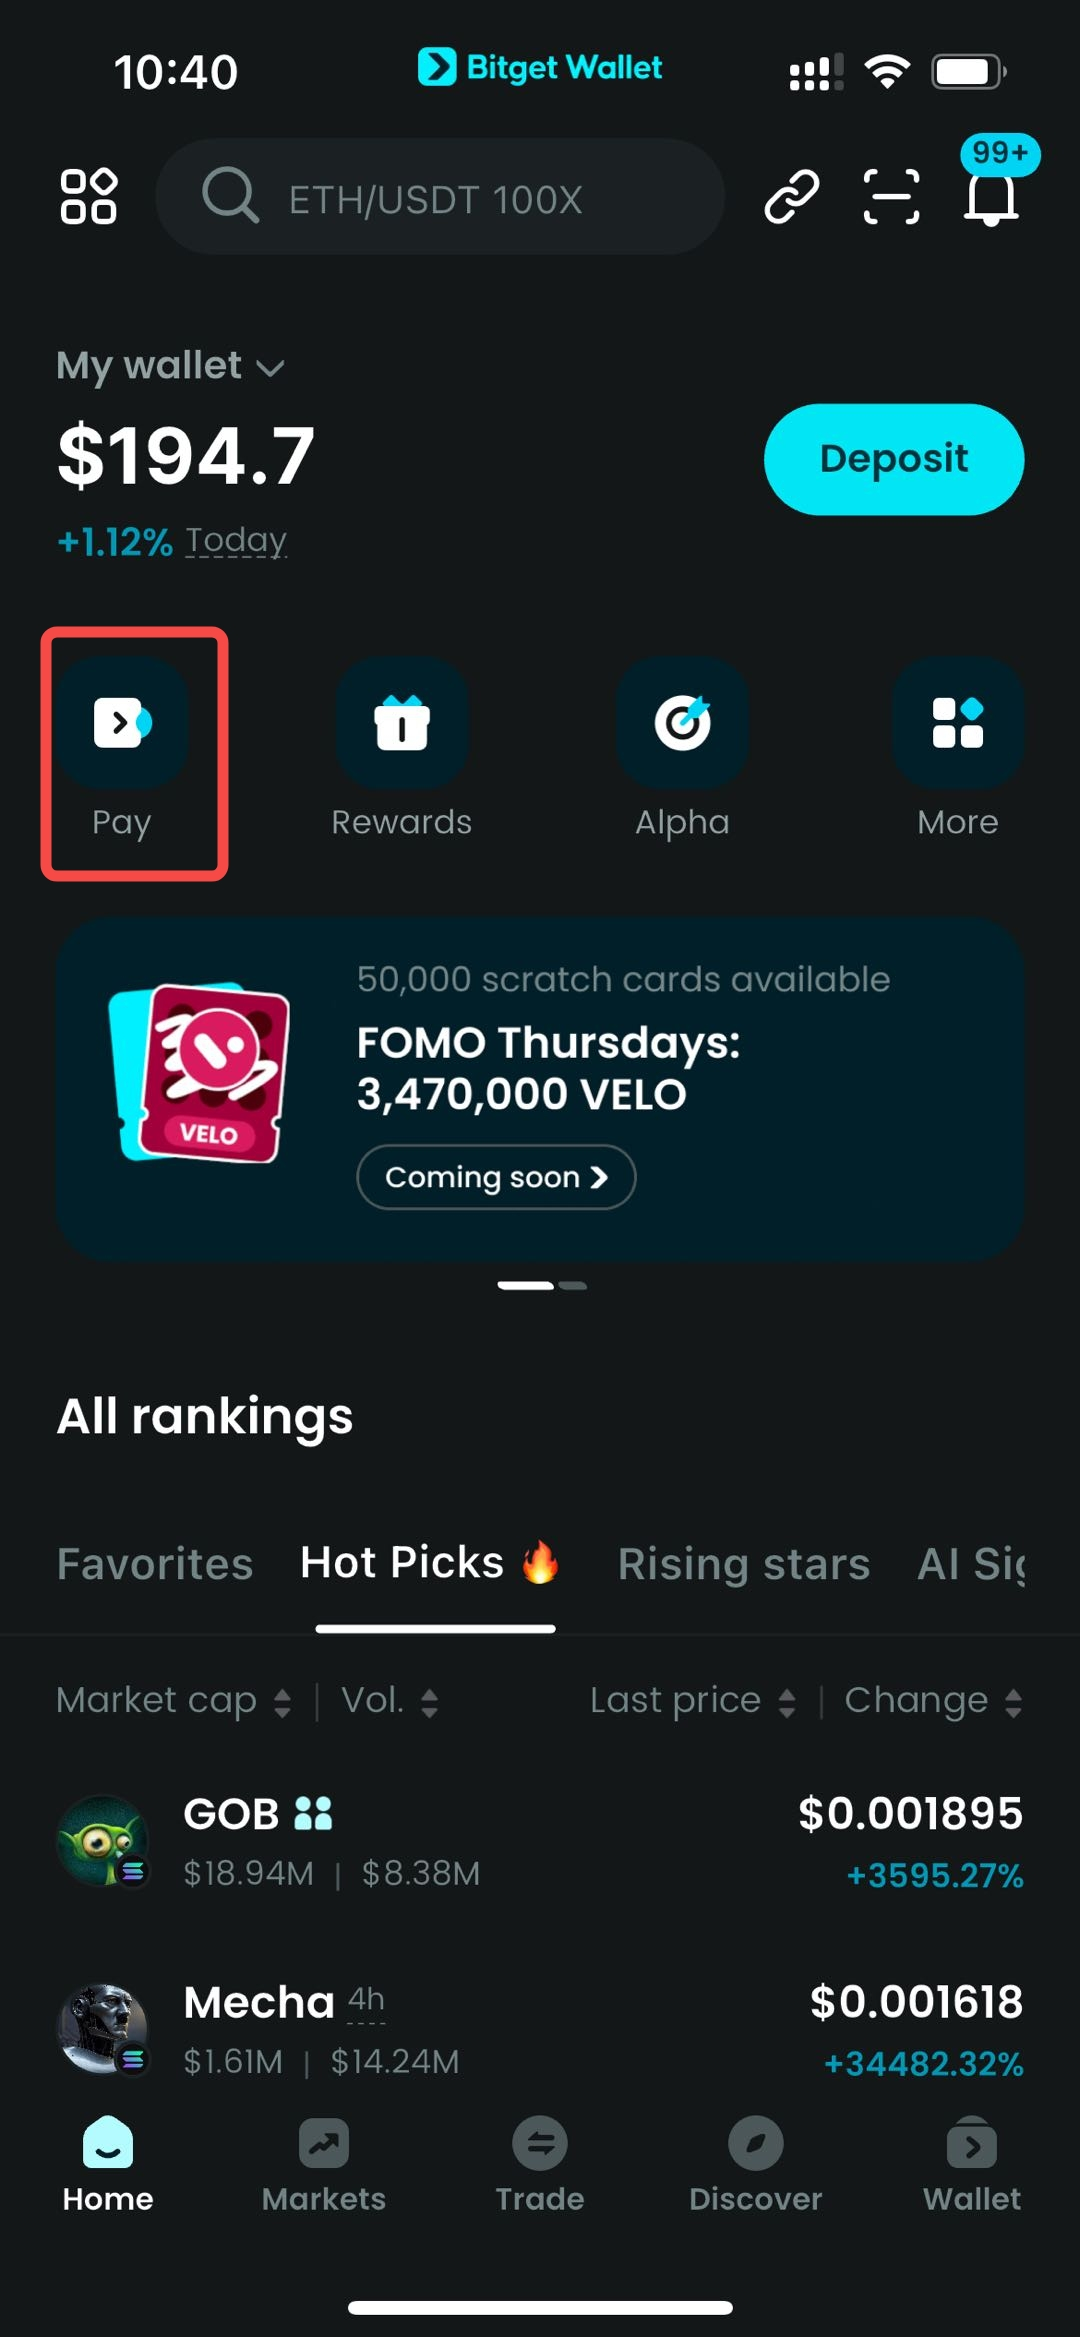
How to Use Bitget Wallet Pay?
Users only need to enter the amount and click the button to invoke Bitget Wallet Pay for payment, with a smooth process.
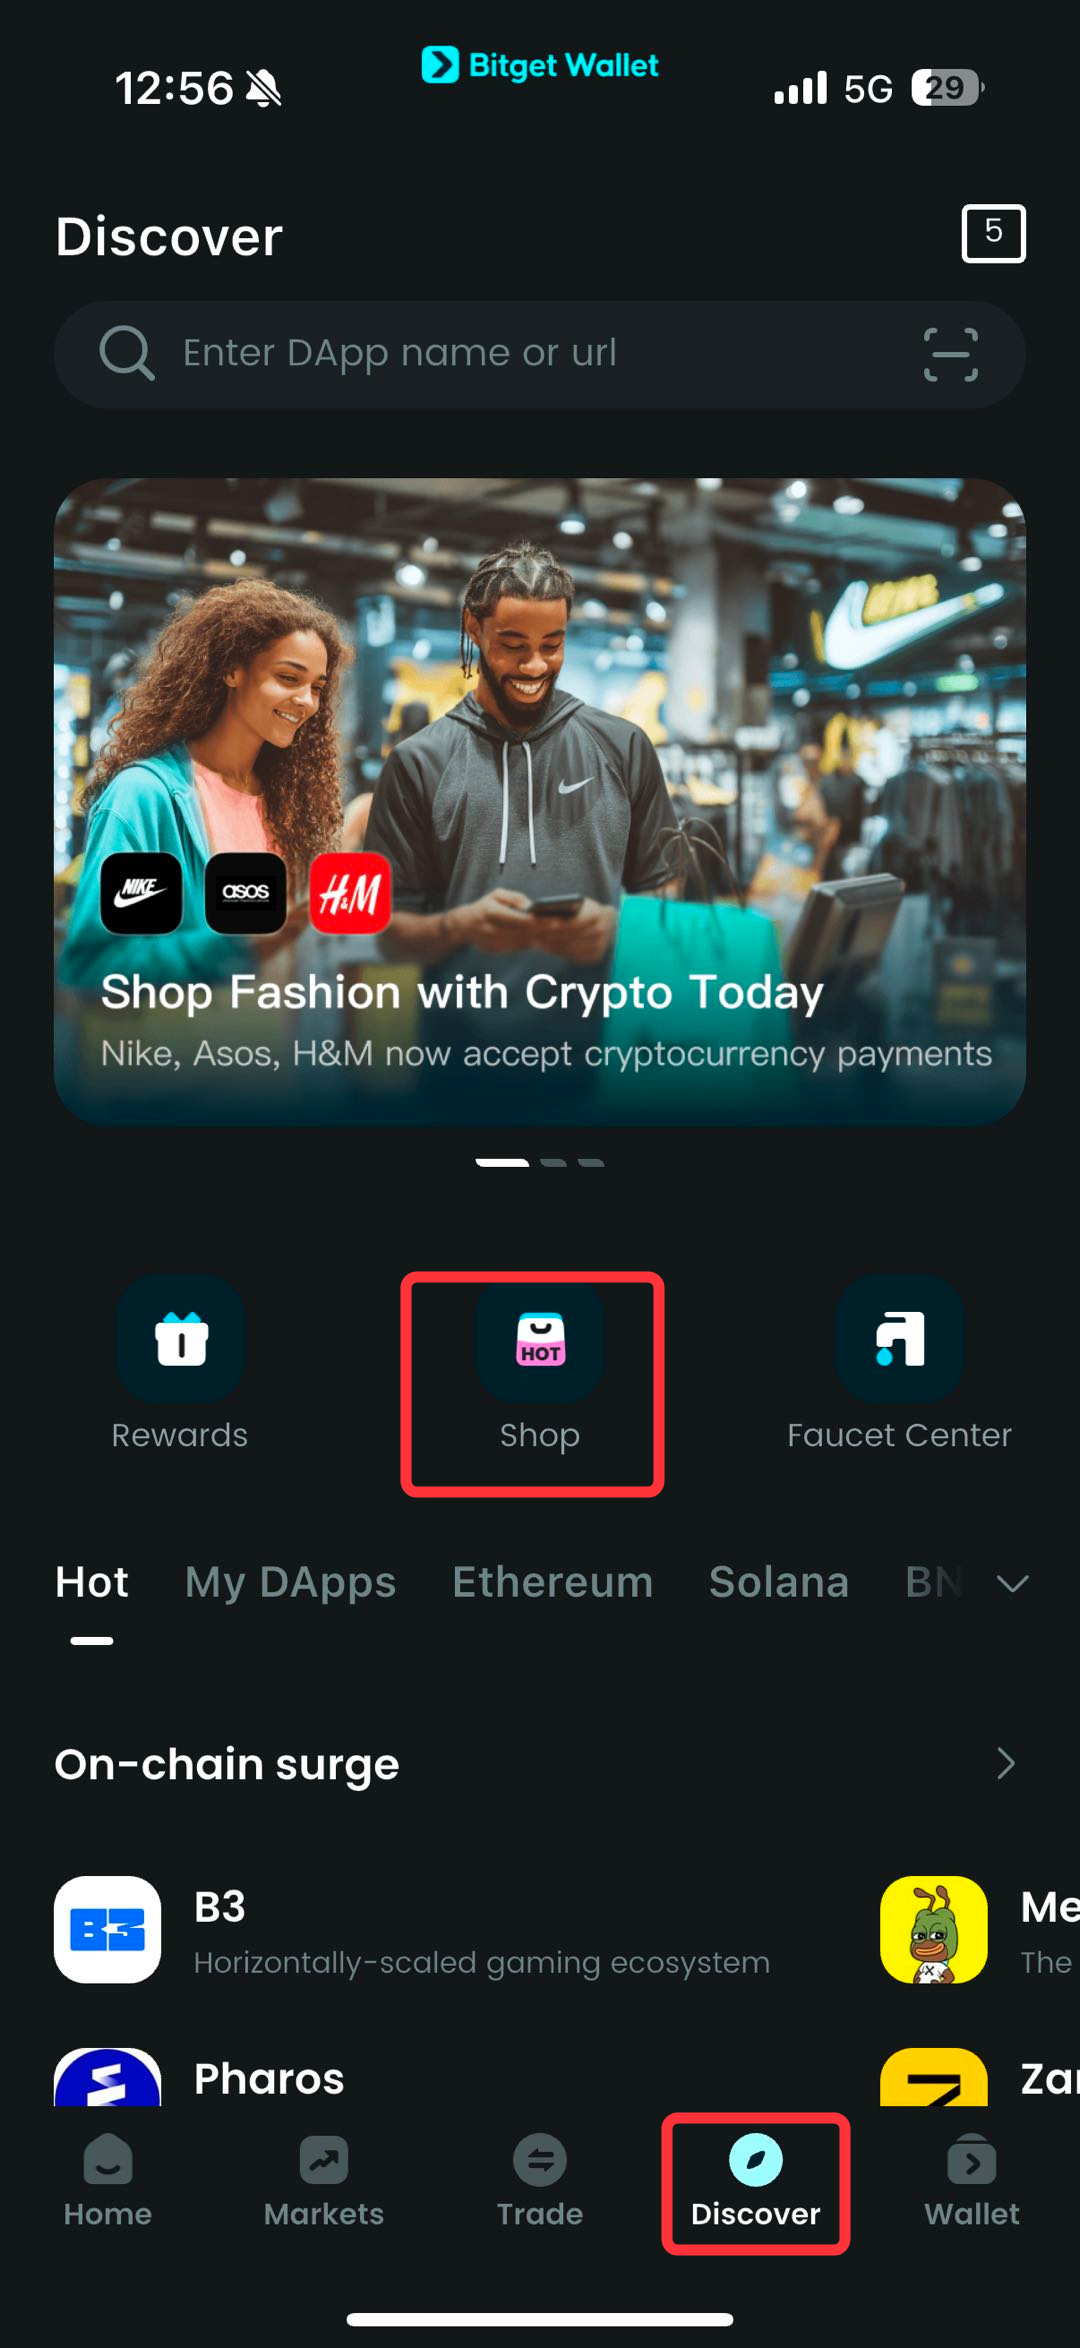
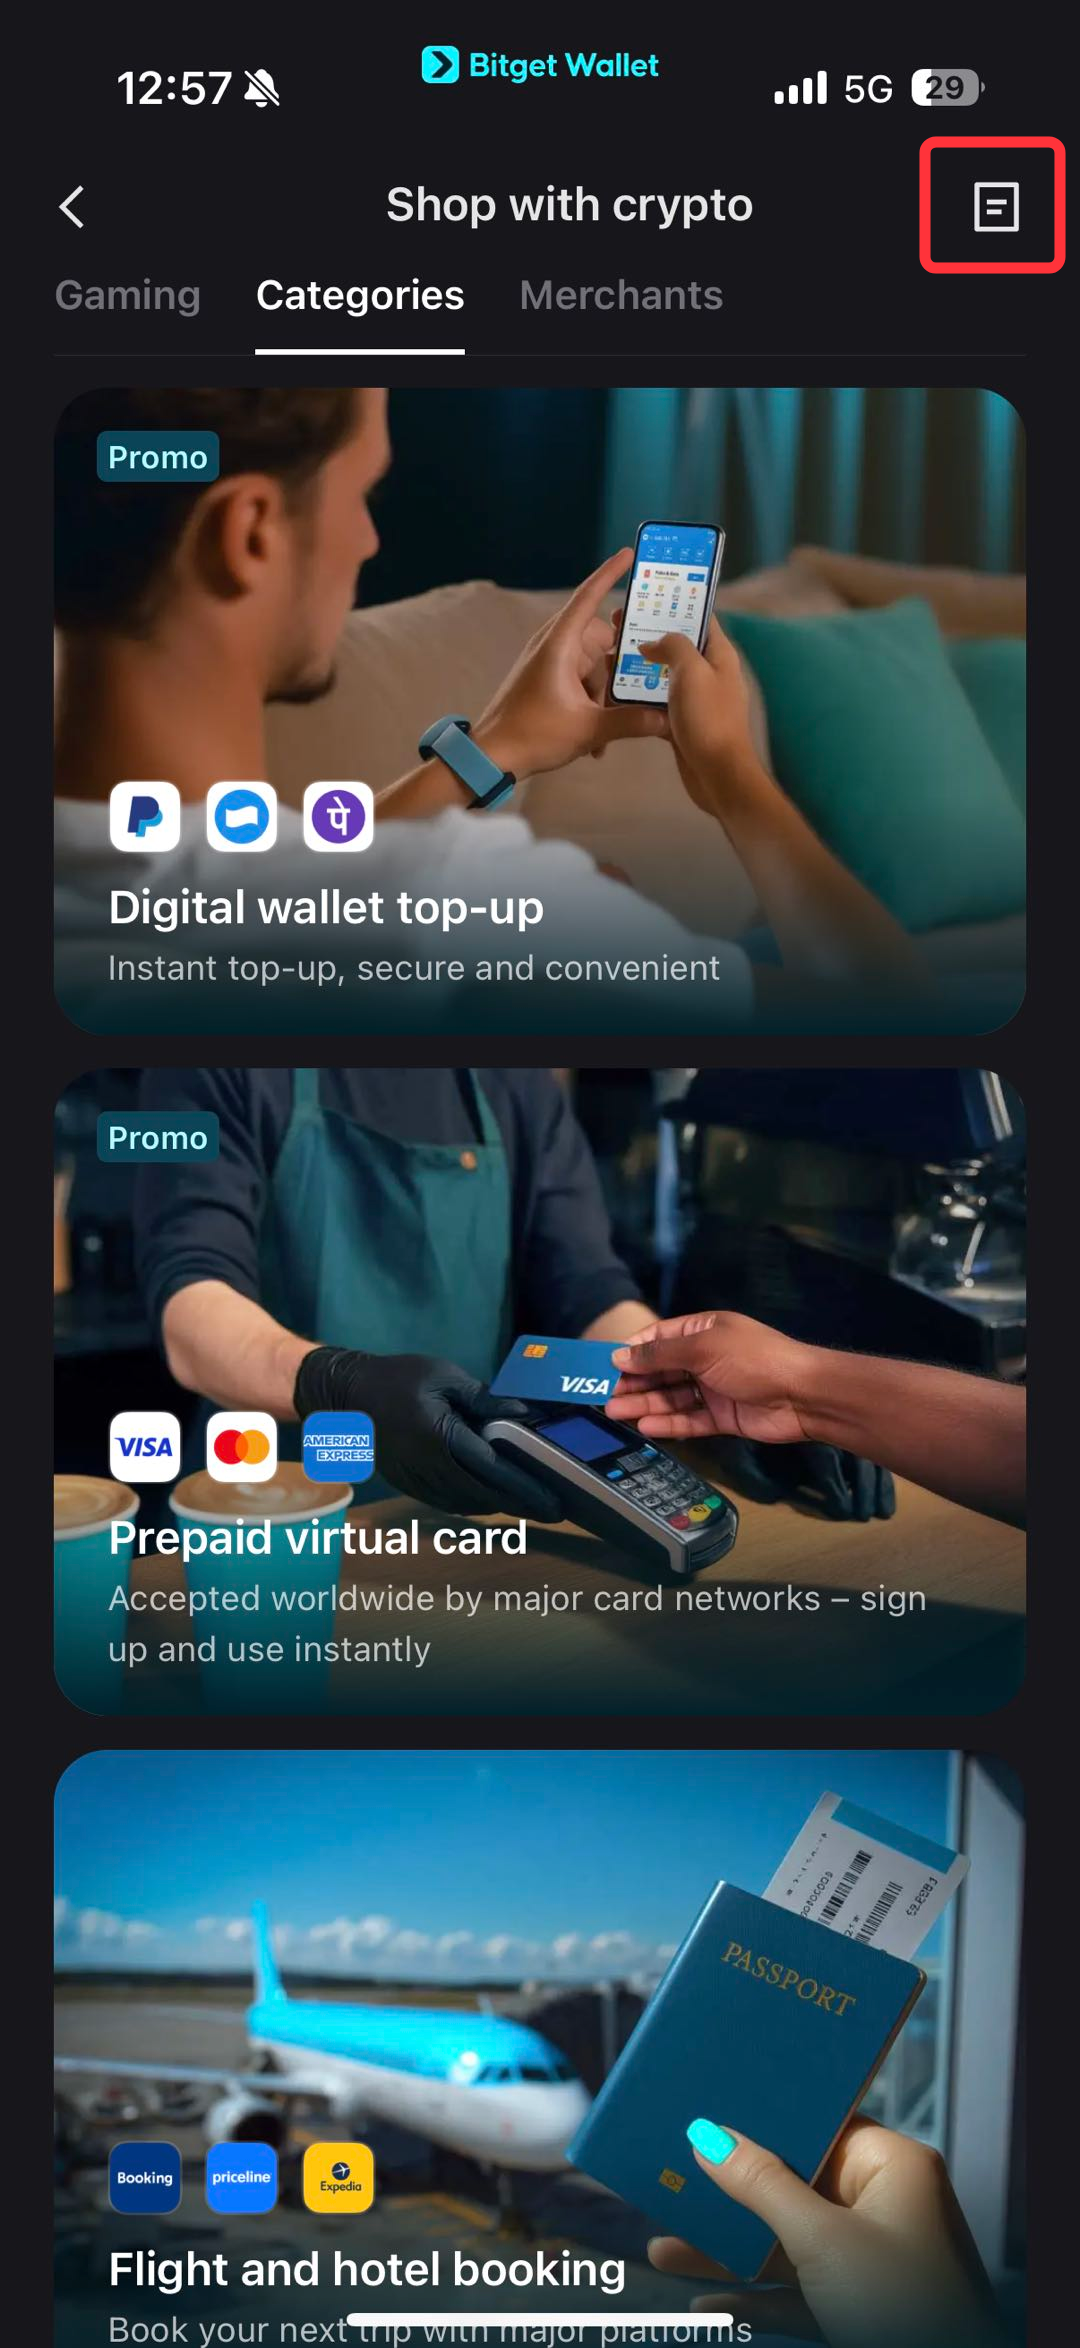
Of course, you can also open it outside the website.
Bitget Wallet Pay Integration Process
Step1: Apply for appId and apiSecret
You need to first apply for appId and apiSecret, which are used for creating payments and encryption.
Step2: API Signature
Implement API signature to correctly access Pay service.
Algorithm Description
The fields participating in the signature are:
apiPath: URI (required)body: Request body (required), JSON stringx-api-key: Same asappId(required)x-api-timestamp: Current timestamp in milliseconds (required)- Other parameters in the URI
Implement according to the following steps:
- Put all the above parameter names and values into
contentMap, sort thekeyofcontentMapin ascending order - JSON serialize the
contentMap - Use
SHA256algorithm to encrypt the JSON string + key - Finally, encode the encryption result with
BASE64, and the result is the signature string
Example as follows:
curl -H 'x-api-key: key' \
-H 'x-api-timestamp: 1744636844000' \
-H 'x-api-signature: 0xb7Kxxxx=' \
'https://{HOST}/path/to/pay?param1=test1¶m2=test2' \
-d '{"data":"test"}'The contentMap after JSON serialization is as follows:
{
  "apiPath": "/path/to/pay",
  "body": {
    "data": "test"
  },
  "param1": "test1",
  "param2": "test2",
  "x-api-key": "key",
  "x-api-timestamp": "17200001"
}
Finally, encrypt this JSON string.
Code Implementation
import crypto from "crypto";
/**
* Generate required signature
* @param {string} appId - Application ID
* @param {string} apiSecret - API key
* @param {string} pathUrl - Complete URL path (including query parameters)
* @param {string} payload - Request body string
* @param {number} tm - Timestamp (milliseconds)
* @returns {string} - Base64 encoded signature string
*/
function genSign(appId, apiSecret, pathUrl, payload, tm) {
let path = "";
const contentMap = {};
try {
const url = new URL(
pathUrl.startsWith("https")
? pathUrl
: `https://api.paydify.com${pathUrl}`
);
path = url.pathname;
for (const [key, value] of url.searchParams) {
if (value) {
contentMap[key] = value;
}
}
} catch (err) {
const parts = pathUrl.split("?");
path = parts[0];
if (parts[1]) {
const queryParams = new URLSearchParams(parts[1]);
for (const [key, value] of queryParams) {
if (value) {
contentMap[key] = value;
}
}
}
}
contentMap["x-api-key"] = appId;
contentMap["x-api-timestamp"] = tm.toString(); // milliseconds
contentMap["apiPath"] = path;
contentMap["body"] = payload;
const keys = Object.keys(contentMap).sort();
const orderedMap = {};
keys.forEach((key) => {
orderedMap[key] = contentMap[key];
});
const content = JSON.stringify(orderedMap);
const mac = crypto.createHmac("sha256", apiSecret);
mac.update(content);
return mac.digest("base64");
}
// Usage example
const signature = genSign(
"A123456",
"ABC123",
"/path/to/pay?param1=test1¶m2=test2",
'{"data":"test"}',
Date.now()
);
console.log("Signature:", signature);Step3: Create Payment Order
In scenarios like user checkout or QR code payment, integrators can refer to the following code to create orders for payment.
// Assume you have the following variables:
const appId = "your_appId";
const mchTxnId = "integrator_order_ID";
const url = "https://api.paydify.com/payment/payin/v1/createPayment";
const signature = "signature";
const requestBody = {
  appId,
  mchTxnId,
  txnAmount: "100.23",
  currency: "USDT",
  checkoutMode: 1,
  payMethod1: "BGW",
};
const bodyString = JSON.stringify(requestBody);
fetch(url, {
  method: "POST",
  headers: {
    "Content-Type": "application/json",
    "x-api-key": appId,
    "x-api-timestamp": timestamp,
    "x-api-signature": signature,
  },
  body: bodyString,
})
  .then((res) => res.json())
  .then((data) => {
    console.log("Create payment response:", data);
    if (data.status === 0) {
      // Invoke checkout through data.data.deeplink
      // See Step4: Invoke Checkout
    } else {
      console.error("Payment failed:", data.msg);
    }
  });
After successfully creating the order, a deeplink field is returned to invoke Bitget Wallet Pay.
Step4: Invoke Checkout
deeplink is a protocol starting with bitkeep:// and cannot be opened through href or window.open. If the merchant is in-app, they can install @bitget-wallet/utils dependency to navigate deeplink and invoke the checkout.
Install Dependencies
pnpm i @bitget-wallet/utils
# or
yarn add @bitget-wallet/utils
# or
npm i @bitget-wallet/utils
Invoke Checkout Demo
If the merchant is outside the app, they need to use Bitget Wallet deeplink to invoke the app and open the checkout. Specific demo code is as follows:
import { transfer } from "@bitget-wallet/utils";
const link = data.deeplink;
if (/(BitKeep)/i.test(navigator.userAgent)) {
  // In-app
  transfer(link);
} else {
  // Outside app
  window.open(`https://bkcode.vip/?deep_link_value=${link}`, "_blank");
}deeplink
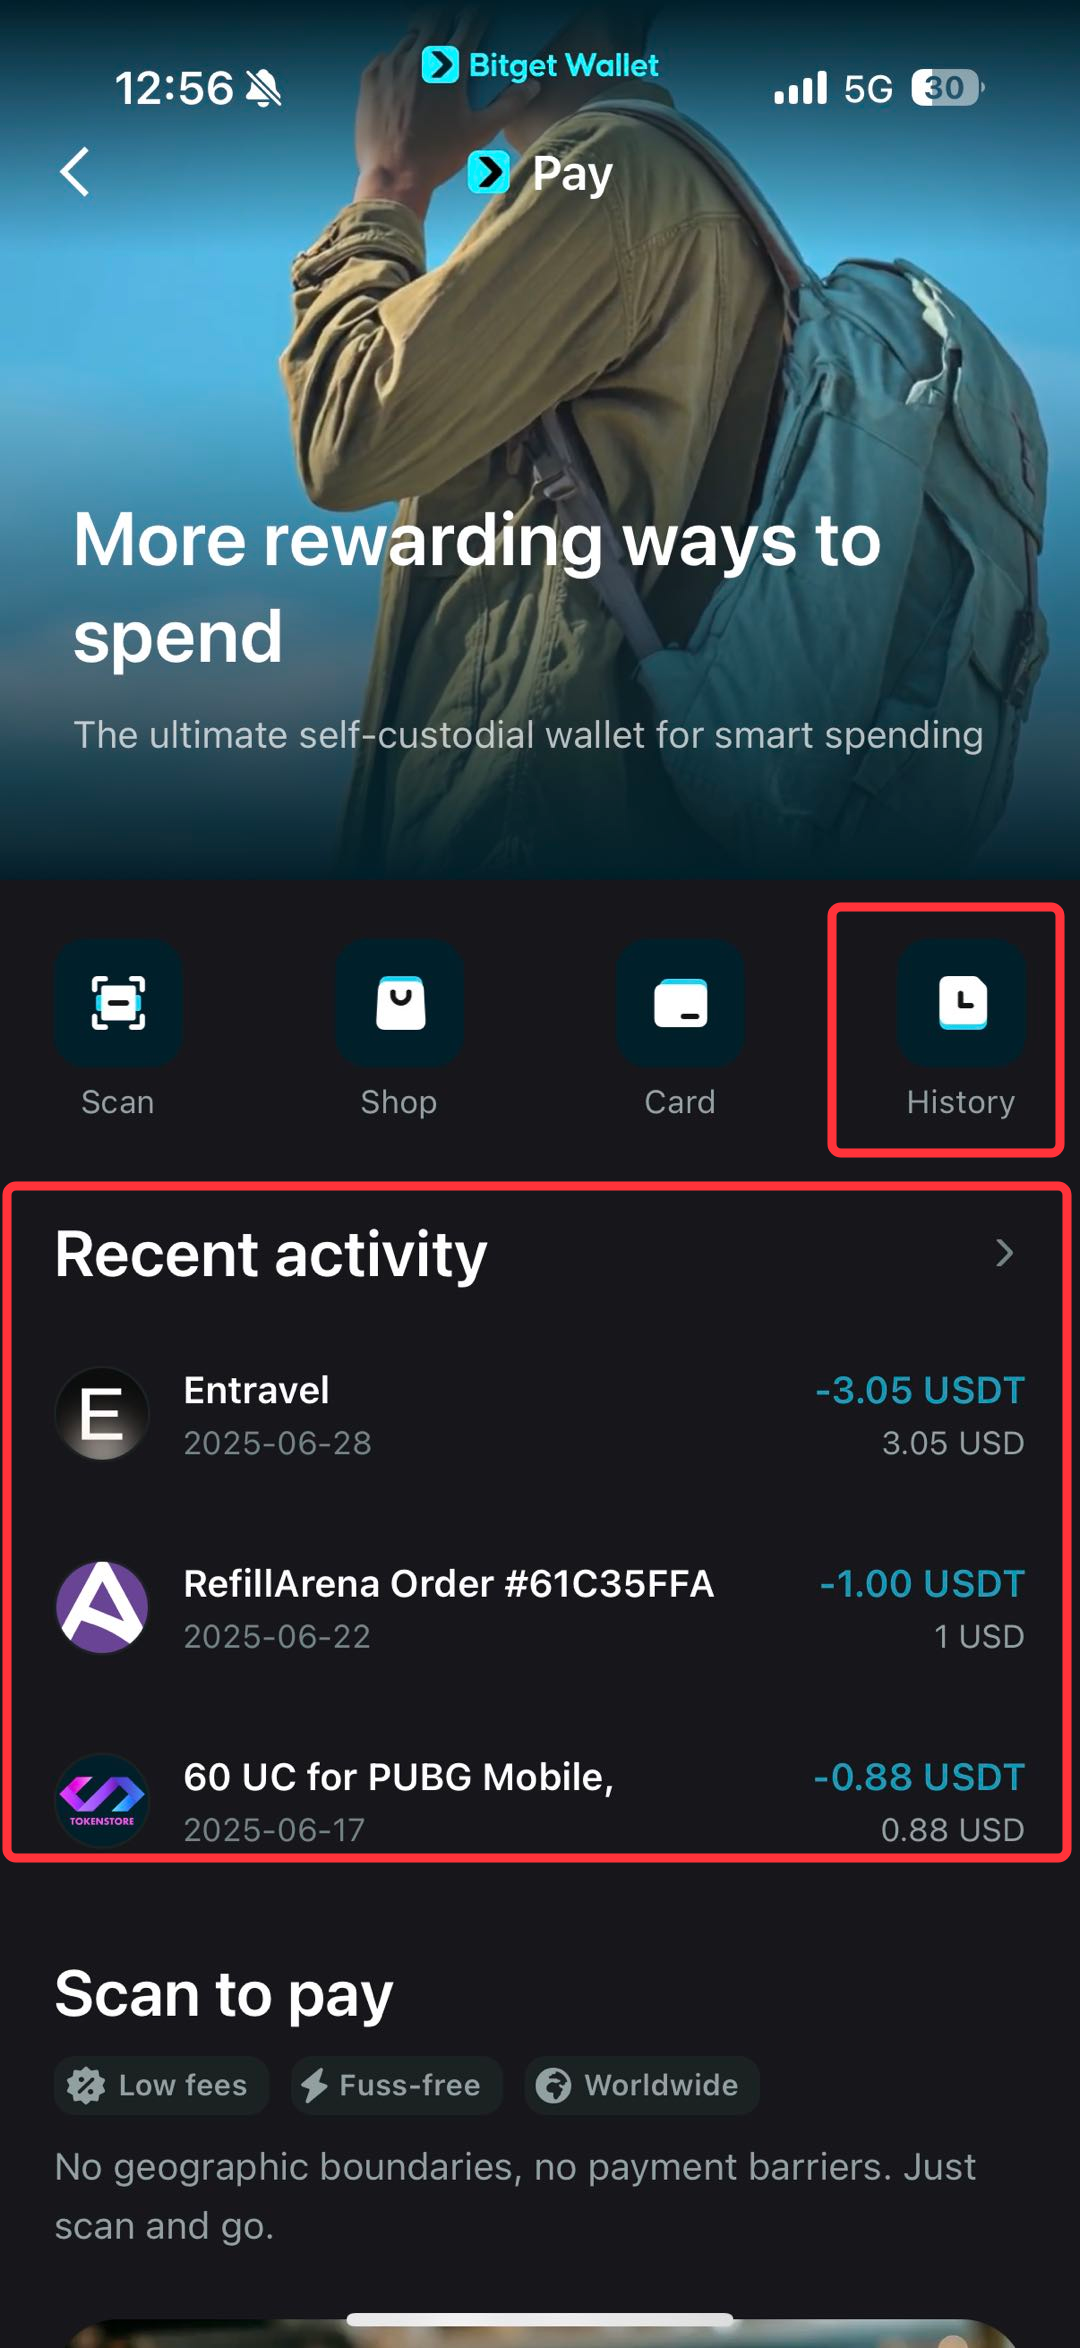
Order Query
After payment submission, it will enter the order status page to get payment results in real-time.
Order History
View order details in order history.

Entry points for order history in various modules.
Extension
For more details, please see paydify documentation .